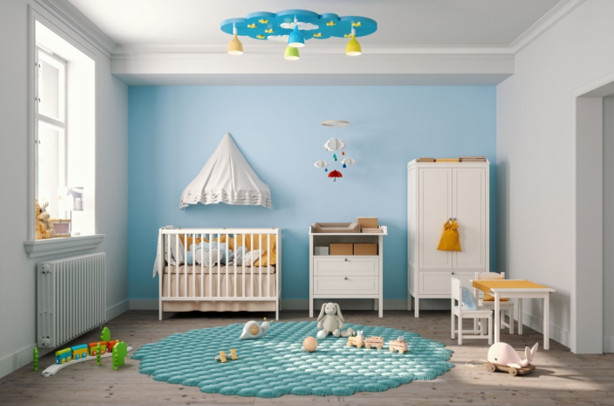
Having a baby is one of the most exciting times of your life! Whether it’s your first child or your fifth, you want to ensure their nursery is as special as they are. With removable wallpapers, you can easily and quickly transform any nursery wall into a stunning display of colour and design without compromising on the safety of your little one.
However, before starting the wallpapering process, several steps must be taken to ensure your nursery wall is ready for installation. Preparing a wall for removable wallpaper may seem daunting at first, but with this step-by-step guide, it doesn’t have to be! Here’s everything you need to know about preparing a nursery wall for removable wallpaper.
Contents
- 1 Measuring the Nursery Wall for Removable Wallpaper
- 2 Preparing the Surface for Removable Wallpaper
- 3 Choosing the Right Type of Removable Wallpaper
- 4 Vinyl Wallpaper
- 5 Fabric Wallpaper
- 6 Fabric-Backed Vinyl Wallpaper
- 7 Proper Installation Techniques for Removable Wallpaper
- 8 Start right
- 9 Layer it on
- 10 Finishing touches
- 11 Wrapping Up
Measuring the Nursery Wall for Removable Wallpaper
Whether you’re an experienced decorator or just starting to spruce up your nursery, it’s essential to get your wall measurements right. This is the first and most crucial step in preparing a nursery wall for removable wallpaper.
Here’s how you can do it:
- Get a measuring tape: Getting accurate measurements is critical, so make sure to leave this part of the process to guesswork.
- Measure each wall: Take measurements from one end of the wall to the other at three points – top, middle and bottom – for maximum accuracy.
- Notice any irregularities: If your wall has any irregularities or protrusions, such as outlets or switches, measure around them. You may need to make some adjustments later on during installation.
- Write down your measurements: Whether you use a notepad or an app such as Remodo, record each measurement accurately and double-check them before you start shopping for wallpaper!
Preparing the Surface for Removable Wallpaper
Following a few key steps is essential when preparing your wall for nursery wallpaper.
Here’s what you’ll need to do:
- Start by removing any existing wallpaper or wall coverings.
- Wash the wall surface with mild detergent and warm water. This will remove any dirt and dust buildup, which can cause bubbling as the wallpaper is installed.
- Allow the walls to dry completely before proceeding with the following steps—you can use a fan to help speed this up!
- To ensure your wall is completely smooth and gap-free, you may need to apply a skim coating of spackle or joint compound over any small holes, cracks, or bumps in the wall’s surface. Allow this to dry for at least 24 hours before the installation.
- Finally, prime your wall with an acrylic primer suitable for porous surfaces (such as painted walls). This will help ensure that your wallpaper adheres correctly and looks its best when finished!
Choosing the Right Type of Removable Wallpaper
The next step in the prep process is choosing the right type of removable wallpaper for your nursery. Not all wallpapers are created equal, so understanding their differences is essential.
Vinyl Wallpaper
One type of removable wallpaper is vinyl—a popular option because it’s water-resistant and can be wiped down easily if it gets dirty. It’s also more expensive than other types of wallpapers.
Fabric Wallpaper
Fabric wallpapers are super lightweight, making them a great choice if you don’t want to affix wallpaper to your walls permanently. They look great, but they don’t have the longevity of vinyl wallpaper, so you might need to replace the fabric more often.
Fabric-Backed Vinyl Wallpaper
A hybrid option is fabric-backed vinyl wallpaper, which combines the look of fabric with the resistance characteristics of vinyl. It has a special adhesive backing that can be repositioned and reused multiple times without damaging walls or requiring additional adhesive.
So when deciding what type of removable wallpaper to use in your nursery, consider how easy it will be to maintain and how much you plan on using it—the key is finding a balance between style and practicality.
Proper Installation Techniques for Removable Wallpaper
Once you’ve got your wall prepared and ready to go, it’s time to make sure you’re giving your wallpaper the proper installation technique. Here are some tips to keep in mind:
Start right
Start at the left corner as you face the wall, and use a level and a measuring tape to ensure that your actions are straight. If there are any bubbles or wrinkles, use wallpaper solution with water or a steamer to smooth it from the top up.
Layer it on
Once you’ve placed one section of the removable wallpaper, line up your next piece directly next to it for an even joint. Repeat until you have it all covered!
Finishing touches
In the end, use a smoothing tool to go over everything and ensure that the pattern is arranged correctly and there are no air bubbles or gaps between the pieces. And then…voila! You’re done!
Wrapping Up
In conclusion, prepping your nursery wall for removable wallpaper is an excellent way to get a great-looking wall without committing to a wallpaper design for too long. It’s a great way to make sure the nursery looks fantastic while still having the freedom to switch it up if you ever need more time to get tired of the design.
Make sure to gather your tools and materials ahead of time, and take time to read the instructions provided with the removable wallpaper of your choice. With the proper preparation steps and patience, you can easily upgrade the look of your nursery in no time!