Storage containers are useful, but they are usually unappealing to look at! Fortunately, you can dress up your storage bins in several ways to show off your personality while also complimenting the rest of the room’s décor. Spray painting a faux finish, such as galvanized metal, may drastically change the appearance of a space. To attach to the surface, use patterned washi tape or decoupage decorative paper for a more simple method. To finish the appearance, add cording, trim, stickers, or decorative handles. Get rid of all the clutter in your home once and for all! Here is a list of the best methods to design your storage containers for those problematic areas that never seem to stay organized.
Contents
- 1 1. Wrapping with Patterned Washi Tape
- 2 2. Spray Adhesive on the Outer Fabric
- 3 3. Use Decoupage & Decorative Paper as Cover
- 4 4. Explore with Several Types of Paper
- 5 5. Use Spray Adhesive Cork Board
- 6 6. Include Labels to Aid with Organizing
- 7 7. Paste Ornamental Knobs or Handles
- 8 8. Add Stickers, Cording, or Trim
- 9 9. Use Spray Paint
- 10 10. Mask Designs with Tape before Spraying Paint
- 11 Takeaway
1. Wrapping with Patterned Washi Tape
The first method to decorate storage boxes is to use patterned washi tape or duct tape. Tape the box’s upper left corner, and wrap the tape over the front of the box parallel to the ground. Cut the tape and work your way down the box, row by row. Colorful patterns are eye-catching so use alternate colors or patterns for each row to produce a distinct look. For a vivid appearance, use a different design on the handles or sides. Most craft shops sell patterned washi or duct tape.
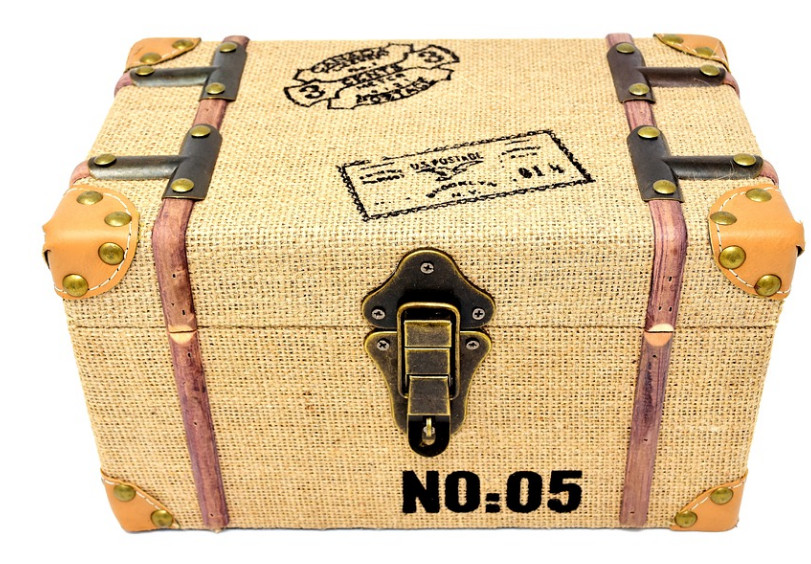
2. Spray Adhesive on the Outer Fabric
Take measurements of the box’s sides and lid’s height and length. Then, cut a piece of fabric for each side based on your dimensions. After that, coat the surface with glue and adhere the appropriate fabric piece to the box. A rep for the remaining sides of the box, spraying and pushing the cloth along the edges as you go. To incorporate the box into your décor, use fabric colors that complement the storage place.
3. Use Decoupage & Decorative Paper as Cover
Measure the length and width of the box’s sides and cut the ornamental paper to fit. Using a foam paintbrush, apply a thin layer of decoupage to the surface of one side of the card. Place the paper on top of the decoupage and smooth it over with your fingers to remove any bubbles or wrinkles that may have formed. Apply a second coat of decoupage on top of the paper to secure it in place. Make care to allow at least 20 minutes for the last layer of decoupage to dry before putting your boxes to use.
4. Explore with Several Types of Paper
This project looks great when done with patterned scrapbooking paper or wrapping paper. However, if you want to create a more distinctive appearance or holiday theme, you can try using decorative napkins rather than paper. Play around with various paper trends for each side of the box to see what works best! Simply ensure that the patterns share one or two primary colors to avoid clashing.
5. Use Spray Adhesive Cork Board
The length of one side of the box should be measured, and the quantity of corkboard required to cover it should be cut. Spray the side of the box with spray adhesive, then push the corkboard firmly into the glue to secure it in place. Hold it in place for 5-10 seconds before removing the pressure on it. Depending on your requirements, you may use a cork board to cover only one side of the box or several sides of the box. Hang photos, recipes, and other notes on the corkboard with the help of attractive tacks and pins that match the decor.
6. Include Labels to Aid with Organizing
You may create whatever kind of label you desire. You may print them on paper, handwrite them on card stock, utilize stencils, or use a craft punch to make metal stamps. Use double-sided tape to adhere to the labels. Additionally, you may wrap rustic twine or beautiful ribbon over the box knobs and allow the wooden tags to hang.
7. Paste Ornamental Knobs or Handles
At every home improvement shop, you may purchase ornamental knobs or handles for dresser drawers or cabinets. Attach them to the front of your storage bins using industrial-grade adhesive or a hot glue gun to give the appearance of genuine furniture. This method works particularly effectively with plastic storage containers with pull-out drawers.
8. Add Stickers, Cording, or Trim
Use a glue gun to apply cording or trim to the rim of the box’s lid to offer it a more upmarket appearance. Cover the sides of plastic bins with your favorite stickers or creative decals for a quick and easy way to organize your belongings. Stick-on rhinestones are a great way to dress up your packaging!
9. Use Spray Paint
Spray the box with two coats of spray primer, allowing 15 minutes between each application to allow the priming to dry. Allow for one hour of drying time after applying the primer. Make a shaky motion with the spray paint can and hold it between 6 and 8 inches away from the box. A thin coat of paint should be applied to the surface. Wait until the first coat has dried completely before choosing whether or not to apply a second coat of paint. You may just need one coat.
10. Mask Designs with Tape before Spraying Paint
Cover patterns using painter’s tape before spray painting to prevent them from being painted over. Painter’s tape may be used to create a beautiful design on the exterior of your box for a unique look. You might, for example, use the tape to create fascinating striped effects on the box by putting it in vertical or horizontal lines. Simply paint the gaps between the pieces of tape and let it dry for 24 hours before storing things in your box! Before removing the masking tape, make sure the paint is completely dried.
Takeaway
Always clean the surface of the boxes with water and mild soap before attempting any of the box decorating methods listed above. The paint adheres more readily to clean surfaces than to unclean ones. To thoroughly clean the box, use a warm water solution, including a few drops of mild dish soap. You may either dry the box with a towel or leave it to air dry; just make certain the surface is completely dry before proceeding.